Table of Contents
ToggleSetting up a custom home theater system is no longer a luxury reserved for Hollywood basements. Modern homeowners are reclaiming their living spaces as entertainment destinations, combining affordability with flexibility that didn’t exist five years ago. Whether you’re converting a spare bedroom, finishing a basement, or dedicating a formal living room to film and gaming, the fundamentals remain the same: quality audio, quality video, and a room designed to make both shine. This guide walks you through every decision you’ll face, from choosing equipment to managing acoustics, so you can build a system that matches your budget and lifestyle.
Key Takeaways
- A custom home theater system requires five essential layers: display, audio, source equipment, seating, and room treatment—each equally important to achieving a professional cinematic experience.
- Audio is where most DIY installations fail; invest in a proper 5.1 or 7.1 surround setup with a center speaker, quality mains, surrounds, and subwoofer rather than relying on a soundbar alone.
- Projectors need 2500–5000 lumens depending on ambient light, while TVs in the 75–85 inch range offer the optimal balance of immersion for most rooms—choosing the right display is foundational to your setup.
- Acoustic treatment, including soft furnishings, acoustic panels at reflection points, and bass traps in corners, transforms how even expensive speakers perform and prevents sound from sounding thin and hollow.
- Proper planning before installation—measuring your room, mapping cable routes, securing mounts to studs, and labeling all connections—saves days of troubleshooting and ensures a finished, professional appearance.
- A well-designed custom home theater in a treated 5.1 configuration will outperform an expensive 7.1 system in an untreated room, making room design as critical as equipment selection.
Understanding the Core Components of Custom Home Theater
A custom home theater system breaks down into five essential layers: display (projector or TV), audio (speakers and amplifier), source equipment (player or streaming device), seating, and room treatment.
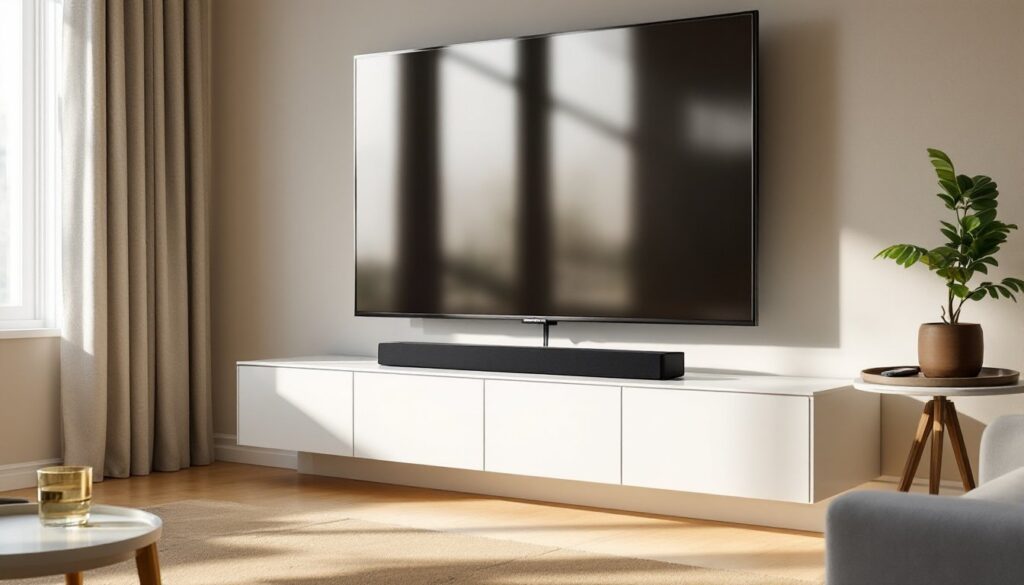
Your display is the anchor. A projector demands a dedicated dark room and delivers a cinematic experience, but requires a quality screen and proper throw distance. A large television (65 inches or bigger) works in rooms with ambient light and is easier to integrate into an existing space.
Audio is where most DIYers go wrong. A soundbar alone won’t cut it for true surround. You need a center speaker for dialogue clarity, left and right channels for stereo imaging, surround speakers for effects, and a subwoofer for bass. An amplifier (or AV receiver with built-in amplification) powers these speakers.
Source equipment is straightforward: a 4K Blu-ray player, streaming device, or gaming console sends the signal to your display. Many receivers handle switching between multiple sources automatically.
Seating should be comfortable and positioned at the correct distance from your display, roughly 1.5 to 2.5 times the screen’s diagonal measurement. That means a 100-inch projected image needs viewers 12 to 20 feet away.
Room treatment includes acoustic panels, bass traps, and isolation, all designed to control how sound behaves in the space. Even a well-equipped system sounds thin in a hard, reflective room.
Choosing the Right Audio and Video Equipment
Selecting a Quality Projector or Display
If you’re buying a projector, brightness matters most. Standard measurements use lumens: 2500–3000 lumens works in moderately dark rooms, while 3000–5000 lumens handles some ambient light. A native 4K or 1080p projector with HDR (High Dynamic Range) support is the baseline for 2026.
Throw ratio determines placement. A short-throw projector sits 3–5 feet from the screen, ideal for compact rooms. Standard-throw projectors need 6–12 feet of distance. Check specs before buying, miscalculate and you’ll either project on the back of a shelf or need to move everything.
If using a TV, modern OLED or mini-LED displays offer superior contrast and color accuracy over traditional LED panels. A 75- to 85-inch set is the sweet spot for most rooms: anything under 55 inches won’t deliver the immersion you’re after.
Projector screens aren’t just white sheets. A gain of 1.0 to 1.3 is standard: higher gains boost brightness at the expense of viewing angle. Fixed screens mount flush to the wall, while motorized roll-down screens hide when not in use, a practical touch if the room doubles as a living space. Top-rated home theater systems often pair specific projectors with calibrated screens for optimal performance.
Audio Systems: Speakers and Amplifiers
A proper 5.1 or 7.1 surround setup means five or seven speakers plus a subwoofer. The center channel handles 60% of your dialogue and sits directly above or below the display. Left and right main speakers handle stereo content. Surround speakers (placed to the sides or rear) add immersion without drowning out the front stage. A quality subwoofer, one with at least 8 inches of driver diameter, handles frequencies below 80 Hz and up to your personal preference.
Matching speaker brands within a system ensures tonal consistency. You don’t need expensive speakers everywhere: a quality center and mains pair well with budget surrounds. Avoid wireless speakers for the main channels, surround speakers can be wireless, but your critical front stage needs wired stability.
Your amplifier or AV receiver must have enough power for your speaker impedance (typically 4 or 8 ohms) and your number of channels. A 100-watt-per-channel receiver is adequate for most rooms under 250 square feet. Larger spaces or inefficient speakers (lower sensitivity ratings) may need 150+ watts per channel.
Room acoustics affect how an expensive speaker sounds. Even high-end gear struggles in a room with hard, reflective surfaces. Carpet, curtains, and soft furniture naturally absorb some sound, but dedicated acoustic treatments improve clarity and bass response.
Room Design and Acoustic Considerations
Acoustic treatment starts with controlling room modes, standing waves created by parallel walls. A square or cube-shaped room is your enemy. Odd dimensions (not multiples of each other) reduce bass issues. Concrete basements are problematic because they’re rigid and reflective: drywall-lined rooms are easier to treat.
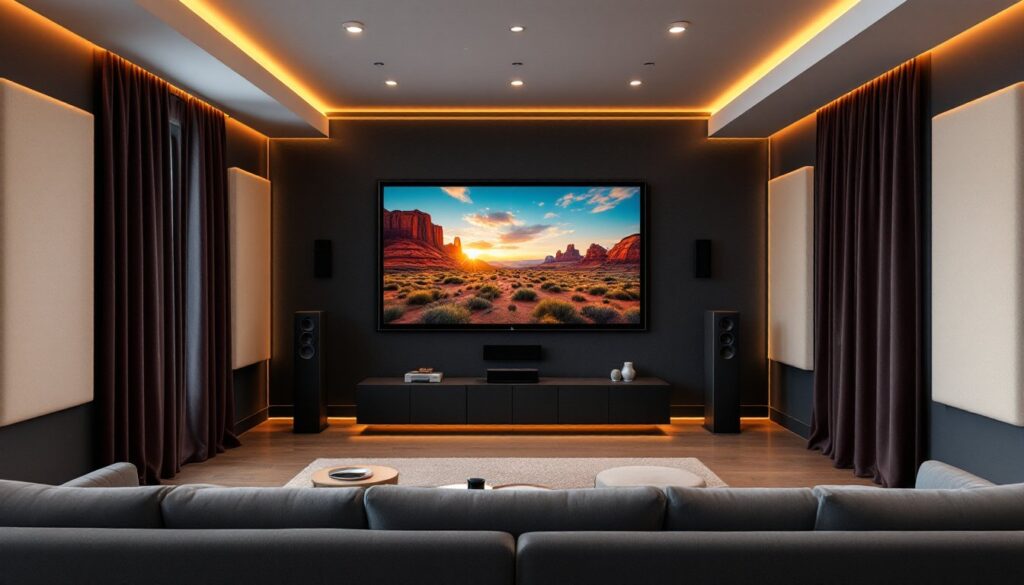
High-frequency sound reflects off hard surfaces like glass, tile, and plaster. Install soft furnishings: area rugs, heavy curtains, and upholstered seating. Acoustic panels on the first reflection points (where sound bounces from screen to ear) tighten the soundstage. These don’t need to be expensive studio treatments, fabric-wrapped fiberglass works fine and looks intentional, not industrial.
Bass is trickier. Low frequencies need mass and absorption. Bass traps, thicker panels, usually in room corners, capture energy below 100 Hz. A subwoofer needs breathing room: don’t shove it into a corner expecting it to work well. Experiment with placement using your ears or a calibration tool like Audyssey (built into Denon receivers) or Dirac Live.
Cable management and isolation matter. Keep power cords separate from signal cables to avoid hum. Use isolation pads under your amplifier and subwoofer to decouple vibration from the floor. Suspended ceiling joists or floating shelves help isolate equipment from the room’s structure.
Lighting is functional, not just aesthetic. Recessed dimmer-controlled LED lights let you adjust mood without losing control of the room. Avoid placing lights where they’ll reflect in your screen. For design inspiration on integrating home theater into a polished living space, luxury home designs showcase modern media rooms that feel intentional rather than tech-forward.
Installation Tips and Best Practices
Prep before you buy. Measure your room, length, width, ceiling height, and the location of windows, doors, and existing outlets. Identify the best viewing position and measure the distance to your display wall. Sketch a basic layout on paper, including seating, speaker placement, and cable routes.
Wiring runs are the hardest part to fix later. Plan cable paths before anything is mounted: in-wall speaker wire (check local fire codes, CL2 or CMP rated required), HDMI runs, and power. If running cable through walls, use wall plates and avoid running signal cables alongside power lines. If you’re uncomfortable drilling through studs or running cable in walls, hire an electrician or low-voltage specialist. Most local codes don’t require a permit for home theater, but some jurisdictions do, check before starting.
Mounting speakers requires finding studs or joists to avoid drywall failure under weight. A stud finder costs $15 and is non-negotiable. Surround speakers can be mounted on 2×4 blocking or a metal bracket: heavy speakers need solid support. Wall-mount your display using a quality articulating or fixed arm rated for its weight. Don’t rely on drywall anchors alone for anything over 50 pounds.
Sealing gaps around cables and vents improves acoustics and reduces air leaks. Use acoustic caulk (not standard silicone) around penetrations.
Cable management keeps a system looking finished. Bundle speaker wire with clips or sleeves, label both ends of every cable, and color-code if you’ll be reconfiguring later. It takes an extra hour upfront but saves days of troubleshooting.
Test your installation before fully committing. Play a movie, a concert video, and a video game to hear how different content sounds. Adjust speaker levels, trim levels, and subwoofer crossover until dialogue is clear and bass doesn’t overwhelm the room. Most receivers let you adjust per-channel levels in setup menus.
Safety and PPE: Wear eye protection when drilling or working overhead. Use ear protection when testing at volume. Ensure adequate ventilation, amplifiers generate heat, and don’t block receiver vents with furniture or panels.
Conclusion
Building a custom home theater rewards planning and patience. Start with your room’s constraints, prioritize audio quality over flashy visuals, and invest in acoustic treatment early. A well-designed 5.1 system in a treated room will outperform an expensive 7.1 setup in a reflective basement. Your next movie night deserves more than a soundbar and a screen, it deserves a space built for it.